How To Take A Screenshot On Hp Laptop
Introduction to taking a screenshot on HP laptop
Taking screenshots has become an essential skill in today’s digital age. Whether you want to capture a funny meme, save important information, or share something interesting with others, screenshots are a quick and easy way to do so. If you own an HP laptop, you’re in luck because there are several methods available to capture screenshots. In this article, we will explore the different ways to take screenshots on an HP laptop and discuss the benefits of doing so.

Screenshots are incredibly useful in a variety of situations. They allow you to capture and save important information, such as receipts, confirmation numbers, or important emails. Screenshots also come in handy when you want to share something interesting or funny with your friends or colleagues. Instead of trying to explain something verbally or through text, a screenshot can provide a visual representation that is often more effective and easier to understand.
When it comes to HP laptops, there are several benefits to taking screenshots. Firstly, it allows you to document and save important information for future reference. Whether it’s a recipe you found online, an error message you encountered, or a design inspiration you stumbled upon, taking a screenshot ensures that you have a visual record of it. Additionally, screenshots can be used for troubleshooting purposes. If you’re experiencing an issue with your laptop and need to seek technical support, having a screenshot of the problem can help the support team better understand and address the issue.
Using the Print Screen key to capture a screenshot
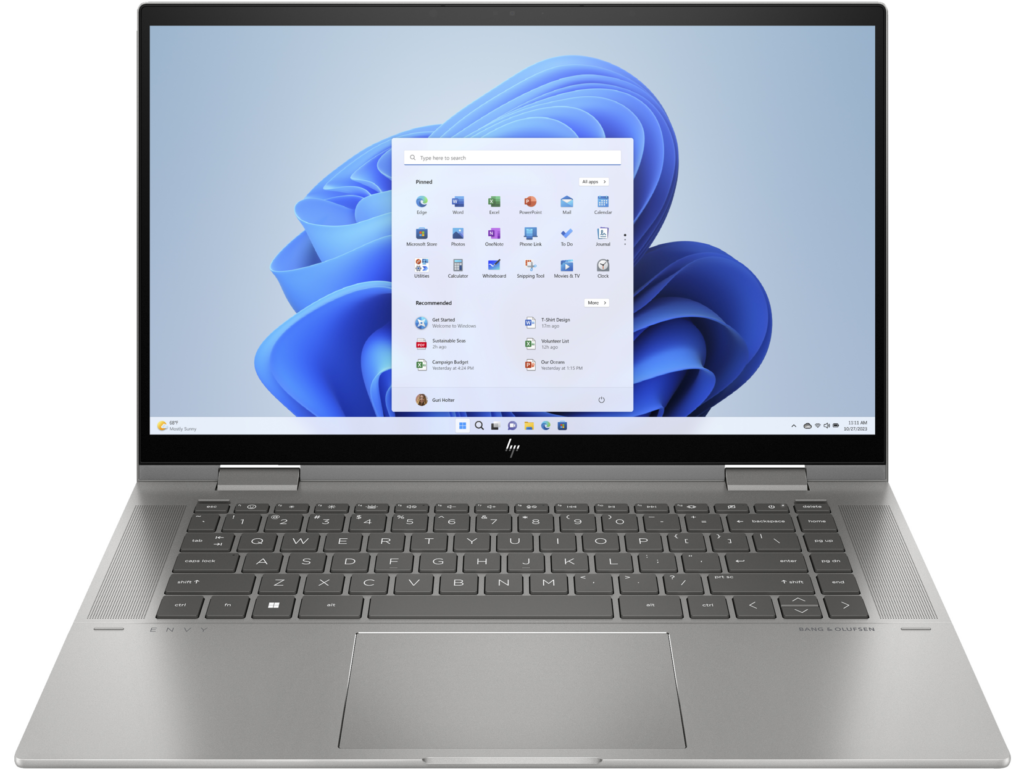
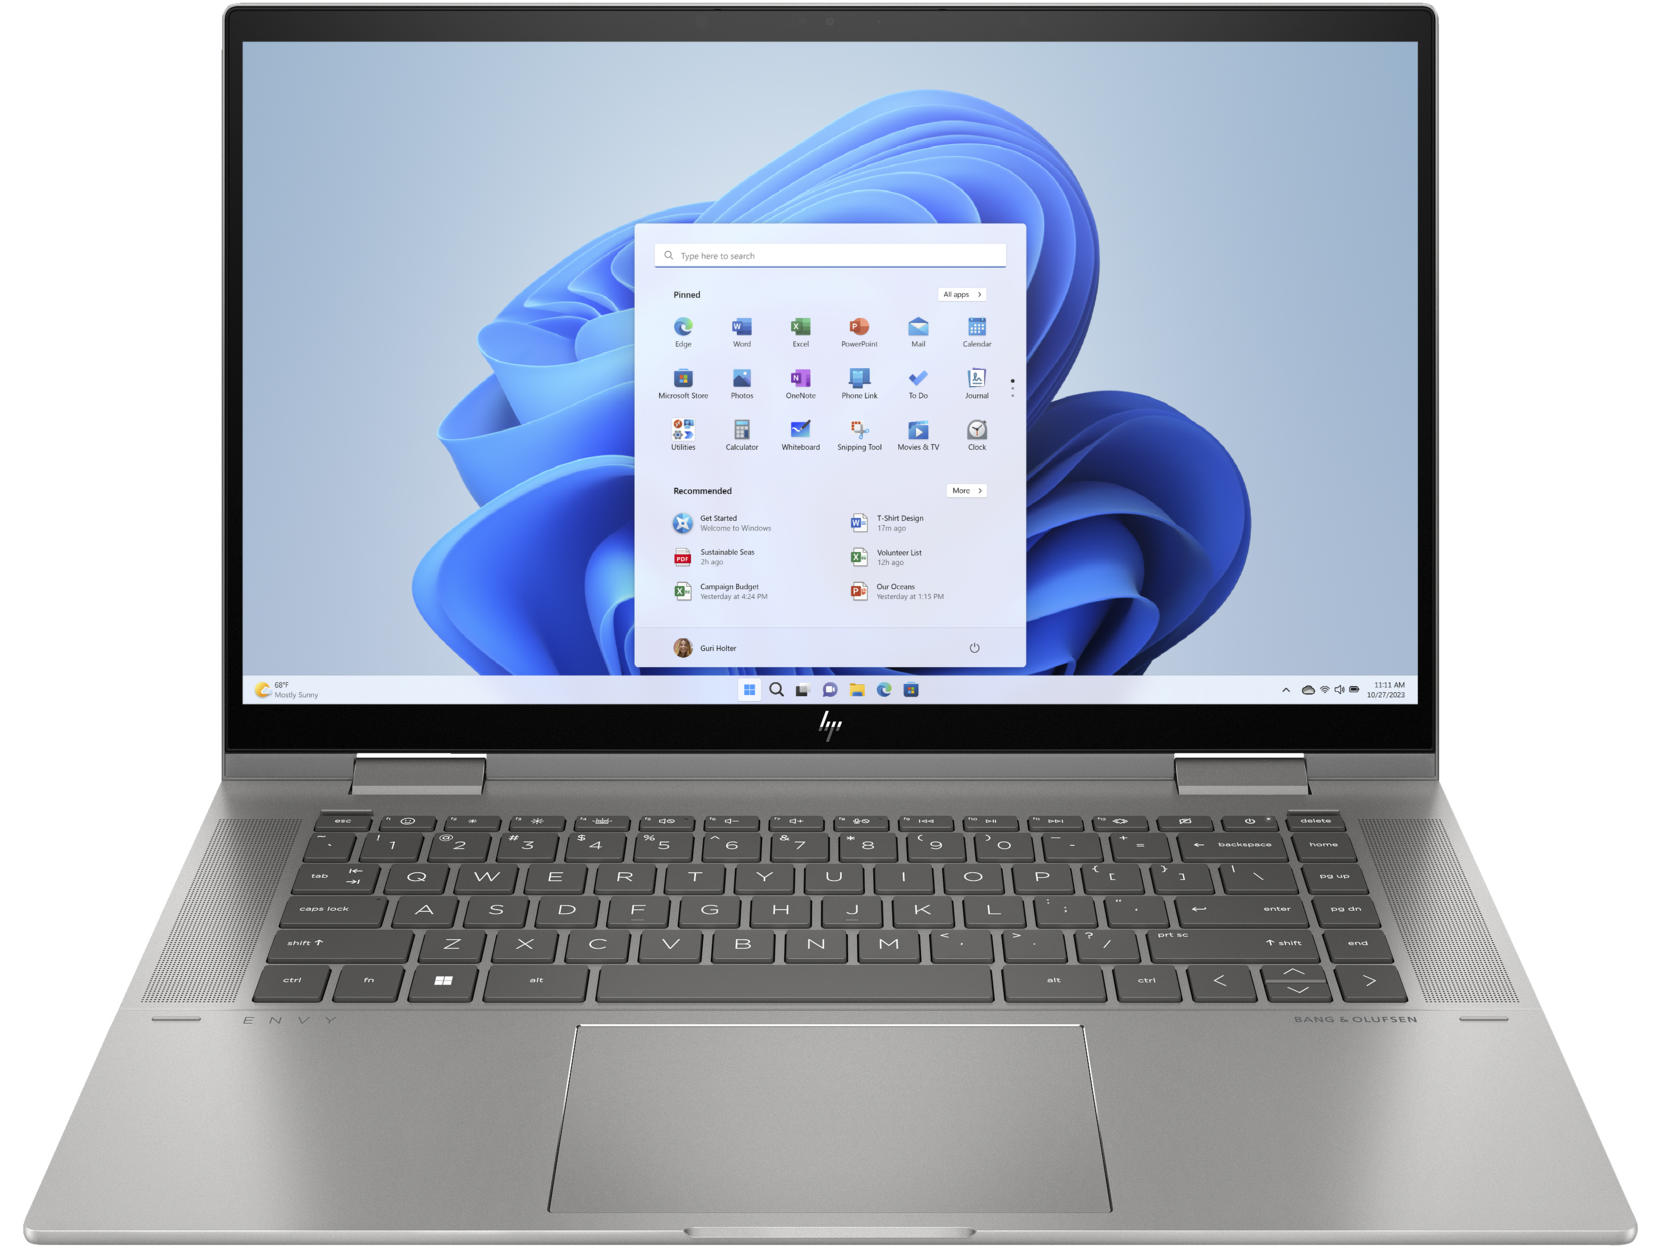
The Print Screen key, often abbreviated as PrtSc or PrtScn, is a commonly used method to capture screenshots on HP laptops. This key is usually located in the top-right corner of the keyboard, near the function keys. When pressed, the Print Screen key captures an image of the entire screen and copies it to the clipboard.
To capture a screenshot using the Print Screen key, follow these steps:
1. Locate the Print Screen key on your HP laptop’s keyboard.
2. Press the Print Screen key once to capture a screenshot of the entire screen.
3. Open an image editing software, such as Paint or Photoshop.
4. Paste the screenshot from the clipboard by pressing Ctrl + V or right-clicking and selecting Paste.
5. Save the screenshot in your desired format (JPEG, PNG, etc.) and location.
Once you have captured the screenshot, you can edit it using image editing software. This allows you to crop, resize, add annotations, or make any other necessary adjustments to the screenshot before saving or sharing it.
Capturing a specific window using Alt + Print Screen
If you only want to capture a specific window instead of the entire screen, you can use the Alt + Print Screen key combination. This method is useful when you want to focus on a particular application or window without including any unnecessary elements from the rest of the screen.
To capture a specific window using Alt + Print Screen, follow these steps:
1. Open the window or application that you want to capture.
2. Make sure the window is active and in focus.
3. Press the Alt + Print Screen keys simultaneously.
4. Open an image editing software, such as Paint or Photoshop.
5. Paste the screenshot from the clipboard by pressing Ctrl + V or right-clicking and selecting Paste.
6. Save the screenshot in your desired format (JPEG, PNG, etc.) and location.
By using the Alt + Print Screen key combination, you can quickly capture and save screenshots of specific windows without the need for additional cropping or editing.
Taking a screenshot of a selected area using Snipping Tool
The Snipping Tool is a built-in screenshot tool available on Windows operating systems, including HP laptops. It allows you to capture a selected area of the screen and provides various annotation options for editing the screenshot.
To capture a selected area using the Snipping Tool, follow these steps:
1. Open the Snipping Tool by searching for it in the Start menu or using the Windows key + Shift + S shortcut.
2. Click on “New” in the Snipping Tool window.
3. Use your mouse to select the area of the screen you want to capture.
4. Once you release the mouse button, the selected area will be captured and displayed in the Snipping Tool window.
5. Use the annotation tools in the Snipping Tool to edit the screenshot if desired.
6. Click on “File” and select “Save As” to save the screenshot in your desired format (JPEG, PNG, etc.) and location.
The Snipping Tool provides a convenient way to capture and edit screenshots on HP laptops, especially when you need to capture a specific area of the screen with precision.
Using the Windows Game Bar to capture a screenshot
If you’re a gamer or frequently use gaming applications on your HP laptop, you can utilize the Windows Game Bar to capture screenshots. The Windows Game Bar is a built-in feature in Windows 10 that allows you to record gameplay, take screenshots, and access various gaming-related settings.
To capture a screenshot using the Windows Game Bar, follow these steps:
1. Open the application or game that you want to capture.
2. Press the Windows key + G to open the Windows Game Bar.
3. Click on the camera icon in the Game Bar toolbar to capture a screenshot.
4. The screenshot will be saved in your “Videos” folder under a subfolder named “Captures.”
The Windows Game Bar is specifically designed for gamers but can be used to capture screenshots of any application or window on your HP laptop. It provides a quick and easy way to capture screenshots without the need for additional software or tools.
Saving and editing your screenshots
Once you have captured a screenshot on your HP laptop, it’s important to save and edit it as needed. Most screenshot methods allow you to save the captured image directly to your computer’s clipboard, which can then be pasted into an image editing software for further editing.
When saving a screenshot, you have the option to choose the file format (JPEG, PNG, etc.) and the location where you want to save it. It’s recommended to choose a file format that preserves the image quality and supports transparency if necessary. PNG is often the preferred format for screenshots as it provides high-quality images with smaller file sizes.
When it comes to editing screenshots, there are several options available. Basic image editing software like Paint allows you to crop, resize, add text, draw shapes, and make other simple adjustments to your screenshots. If you need more advanced editing capabilities, software like Adobe Photoshop or GIMP can provide a wide range of tools and features for editing and enhancing your screenshots.
When editing screenshots, it’s important to consider the purpose of the screenshot and the desired outcome. If you’re using the screenshot for personal use or sharing with friends, basic editing may be sufficient. However, if you’re using the screenshot for professional purposes or need to highlight specific details, more advanced editing techniques may be required.
Troubleshooting common issues with taking screenshots
While capturing screenshots on an HP laptop is generally a straightforward process, there can be some common issues that users may encounter. Here are a few common issues and their solutions:
1. Blank or black screenshots: If you’re capturing screenshots but they appear blank or black, it could be due to a compatibility issue with certain applications or software. Try capturing the screenshot using a different method or using third-party software specifically designed for screenshots.
2. Incorrect screen resolution: If your screenshots appear distorted or have incorrect proportions, it could be due to an incorrect screen resolution setting. Adjust the screen resolution in the display settings of your HP laptop to match the desired resolution for your screenshots.
3. Screenshot not saving: If you’re unable to save the captured screenshot, check the file format and location where you’re trying to save it. Ensure that you have the necessary permissions to save files in the selected location. If the issue persists, try saving the screenshot to a different location or using a different file format.
4. Unwanted elements in the screenshot: If your screenshots include unwanted elements, such as the mouse cursor or taskbar, consider using a different screenshot method that allows you to capture a specific area or window. Alternatively, you can edit the screenshot using image editing software to remove or crop out the unwanted elements.
If you continue to experience issues with capturing screenshots on your HP laptop, it may be helpful to seek assistance from technical support or consult online forums and communities for troubleshooting tips specific to your laptop model.
Using third-party software for advanced screenshot options
While HP laptops offer built-in methods for capturing screenshots, there are also third-party software options available that provide more advanced features and customization options. These software options can be particularly useful for professionals who require precise control over their screenshots or need additional editing capabilities.
Some popular third-party software options for capturing screenshots include:
1. Snagit: Snagit is a comprehensive screenshot and screen recording software that offers a wide range of features, including scrolling capture, video capture, and advanced editing tools. It allows users to capture screenshots of specific areas, windows, or the entire screen with ease.
2. Greenshot: Greenshot is a lightweight and open-source screenshot tool that offers basic capturing and editing features. It allows users to capture screenshots of selected areas, windows, or the entire screen and provides options for annotation and sharing.
3. Lightshot: Lightshot is a simple and user-friendly screenshot tool that allows users to capture screenshots of selected areas, windows, or the entire screen. It offers basic editing features and provides options for saving, printing, or sharing the screenshots.
Using third-party software for capturing screenshots can provide additional flexibility and customization options that may not be available with the built-in methods on HP laptops. However, it’s important to choose a reputable and trusted software option to ensure the security and reliability of your screenshots.
Tips and tricks for taking high-quality screenshots on HP laptop
To capture high-quality screenshots on your HP laptop, consider the following tips and tricks:
1. Use the highest screen resolution: Set your HP laptop’s screen resolution to the highest available setting to capture screenshots with maximum clarity and detail.
2. Use natural lighting: When capturing screenshots of physical objects or documents, ensure that you have sufficient natural lighting to avoid shadows or reflections that may affect the quality of the screenshot.
3. Use keyboard shortcuts: Familiarize yourself with the keyboard shortcuts for capturing screenshots on your HP laptop to save time and streamline the process.
4. Use editing tools: Take advantage of the editing tools available in image editing software to enhance and optimize your screenshots. Adjust brightness, contrast, and color levels as needed to achieve the desired result.
5. Organize your screenshots: Create a dedicated folder on your HP laptop to store and organize your screenshots. This will make it easier to locate specific screenshots when needed.
6. Experiment with different methods: Try out different screenshot methods, such as capturing a specific area or window, to find the most efficient and effective method for your needs.
7. Practice precision: When capturing screenshots of specific areas or windows, take your time to ensure that you select the desired area accurately. This will help avoid unnecessary cropping or editing later on.
Conclusion and summary of key points for taking a screenshot on HP laptop
Taking screenshots on an HP laptop is a valuable skill that can be used for personal and professional purposes. Whether you’re capturing important information, sharing interesting content, or troubleshooting technical issues, screenshots provide a quick and easy way to document and share visual information.
There are several methods available for capturing screenshots on an HP laptop, including using the Print Screen key, Alt + Print Screen key combination, Snipping Tool, and Windows Game Bar. Each method offers its own advantages and can be used in different scenarios depending on your specific needs.
Once you have captured a screenshot, it’s important to save and edit it as needed. Basic image editing software like Paint can be used for simple edits, while more advanced software like Photoshop or GIMP provides additional features and customization options.
By following the tips and tricks mentioned in this article, you can capture high-quality screenshots on your HP laptop and make the most out of this valuable tool. Whether you’re a student, professional, or casual user, screenshots can greatly enhance your productivity and communication.


